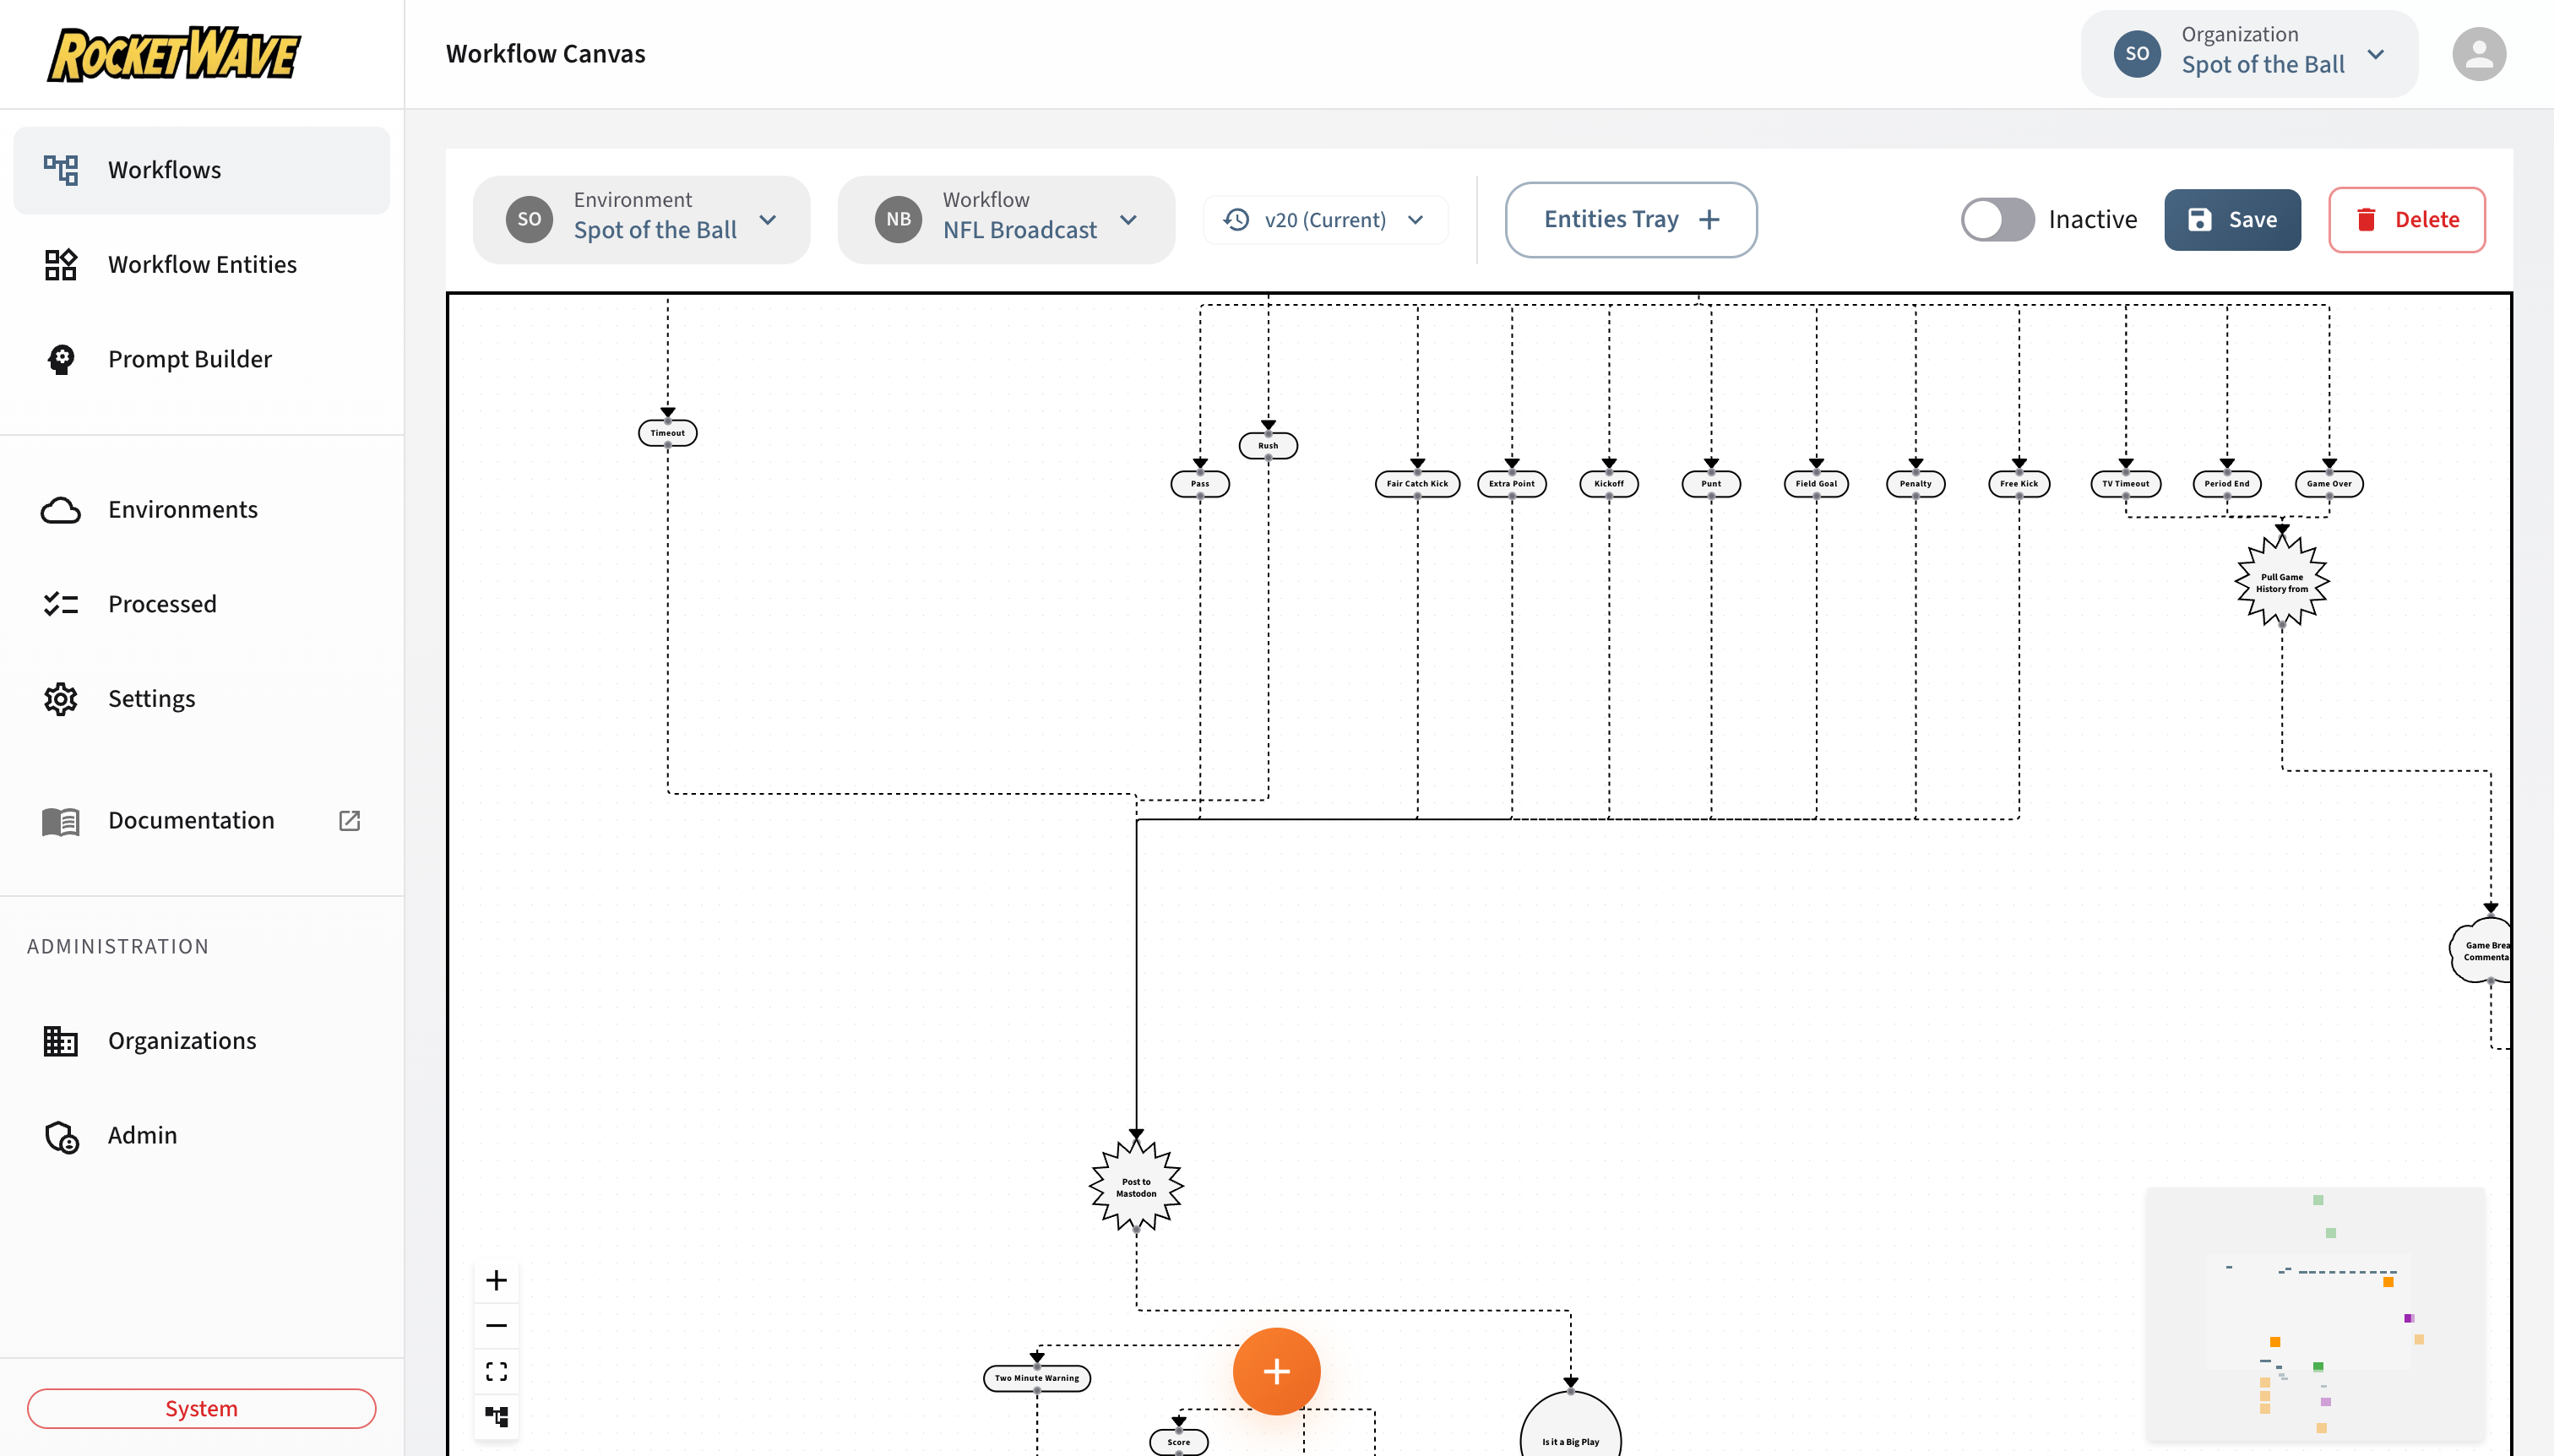
Workflow Canvas
The Workflow Canvas is a visual drag-and-drop editor for building event processing workflows. It uses React Diagrams to provide an intuitive node-based interface for connecting workflow entities.
Overview
Workflows define how incoming messages are processed. Each workflow consists of:
- Nodes — Visual representations of workflow entities
- Links — Connections that define execution flow
- Branches — Conditional paths based on logic evaluation
┌─────────────┐     ┌─────────────┐     ┌─────────────┐     ╭─────────────╮
│   Event     │────▶│   Prompt    │────▶│   Action    │────▶│  Workflow   │
│  (Circle)   │     │   (Brain)   │     │   (Star)    │     │  (Rounded)  │
└─────────────┘     └─────────────┘     └─────────────┘     ╰─────────────╯
Canvas Controls
Toolbar
| Action | Description |
|---|---|
| Save | Persist the workflow to the database |
| Load | Load an existing workflow |
| New | Create a new empty canvas |
| Copy to Environment | Duplicate workflow to another environment |
| Zoom | Zoom controls and fit-to-view |
Navigation
- Pan: Click and drag on empty canvas area
- Zoom: Mouse wheel or pinch gesture
- Select: Click on a node
- Multi-select: Shift + click or drag selection box
Node Operations
- Add Node: Right-click on canvas → Insert Node, or use the Create Node button in the toolbar
- Drag to Add: Drag a connector from any node's output port to an empty area of the canvas — a new entity dialog opens automatically
- Delete Node: Select node → Delete key or context menu
- Edit Entity: Double-click on node or use the tabbed entity editor in the sidebar
Node Types
Each node type has a distinctive shape that indicates its function:
Circle Node — Event
Shape: ⬤ Circle
Purpose: Entry point that evaluates conditions against incoming messages.
Branching Modes:
- Single Path: Continue if condition passes, exit if fails
- True/False: Branch based on condition result
- Multi: Branch based on a variable value
Visual Indicators:
- Contains the entity name
- Shows branch ports for True/False or Multi modes
Brain Node — Prompt
Shape: 🧠 Brain
Purpose: Execute AI/LLM prompts using configured models.
Features:
- Associated with a Model for credentials
- Prompt template with variable interpolation
- Auto-executes
executePromptWithModel()function
Star Node — Action
Shape: ⭐ Star
Purpose: Execute custom JavaScript code for side effects.
Use Cases:
- Data transformation
- External API calls (via injected functions)
- Variable manipulation
- Logging and debugging
- Publishing results via PubSub
Blueprint Plugin Node — Action (Inline)
Shape: Circular icon matching the plugin category
Purpose: Execute a pre-built blueprint action. Created from the Plugin Catalog rather than by manually writing a script.
Features:
- Visual circle icon distinguishes blueprint nodes from standard star-shaped action nodes
- Double-click re-opens the blueprint wizard for reconfiguration
- Script is auto-generated from the blueprint template — no manual coding required
- Configuration is stored inline on the workflow JSON (no database entity needed)
- Supports all the same execution features as standard action nodes, including entity-resume dispatch
See Blueprints & Plugins for the full blueprint system documentation.
Logic Branch Node
Purpose: Represents a branch path from Event nodes in True/False or Multi mode.
Features:
- Contains a value that determines when this branch is taken
- Acts as a container for child nodes
Rounded-Square Node — Workflow (Sub-Workflow)
Shape: Teal rounded square (120 × 120 px)
Purpose: Trigger another workflow as a sub-workflow. The sub-workflow receives the full current execution state (all message fields and script variables) and runs independently via a new Kinesis message.
Features:
- Double-click navigates to the referenced sub-workflow's canvas
- "Create New" option auto-provisions a new workflow with a Workflow Trigger Event entity
- Existing workflows in the same organization are listed in the Insert Node panel under a Workflows accordion
- The current workflow is excluded from the list to prevent direct self-references
- Circular sub-workflow references (A → B → A) are detected by server-side validation
Execution Behavior:
- When the consumer reaches a workflow node, it captures the entire V8 global state and sends it as a new Kinesis message with
type: "workflow_trigger" - The sub-workflow picks up where the parent left off, including all prompt responses and script variables
- Prompt response indexing continues from the parent (e.g., if the parent had
promptResponse_1, the sub-workflow's first prompt producespromptResponse_2)
Creating a Workflow
Step 1: Add an Event Node
- Right-click on the canvas
- Select Insert Node → Event
- Choose an existing Event entity or create a new one
- Configure the branching mode:
- Single Path: Default, continues on condition pass
- True/False: Creates two branch paths
- Multi: Creates multiple named branches
Step 2: Connect Processing Nodes
- Click and drag from the out port of the Event node
- Release on the in port of the next node
- Continue building the chain: Event → Prompt → Action
Step 3: Save the Workflow
- Enter a Name for the workflow (required)
- Add a Description (optional)
- Click Save
Workflow Outcomes
Workflow outcomes are determined automatically:
| Outcome | When it occurs |
|---|---|
| Success | All entities execute without errors |
| Error | A script throws an error or times out |
| Ignore | Event condition doesn't match |
Branching Logic
Single Path Mode
The simplest flow — condition passes or workflow exits:
Event (Condition: type === 'signup')
  │
  ▼ (condition passes)
Prompt (Generate welcome message)
  │
  ▼
Action (Store result)
If condition fails, the workflow exits and the message is ignored.
True/False Mode
Create divergent paths based on a boolean condition:
Event (Condition: premium === true)
  │
  ├── true ──▶ Prompt (Premium welcome)
  │                   │
  │                   ▼
  │             Action (Send email)
  │
  └── false ─▶ Action (Log basic user)
Multi Mode
Branch based on variable values:
Event (Logic Field: userType)
  │
  ├── "admin" ──▶ Action (Admin flow)
  │
  ├── "user" ───▶ Prompt (User welcome)
  │
  └── "guest" ──▶ (no action - ignored)
The logicField specifies which variable to evaluate. The value is matched against branch values.
Connecting Nodes
Creating Links
- Hover over a node to reveal ports
- Click and drag from an out port (right side)
- Release on an in port (left side) of another node
Port Types
| Port | Position | Purpose |
|---|---|---|
| in | Left | Receives flow from parent node |
| out | Right | Sends flow to child nodes |
| true | Right | True branch (Event True/False mode) |
| false | Right | False branch (Event True/False mode) |
Link Rules
- Each in port accepts one connection
- Each out port can have multiple connections
- Links cannot create cycles (detected and prevented)
- The first node in a workflow becomes the root
Context Menu
Node Context Menu (Right-click on node)
| Option | Description |
|---|---|
| Edit Entity | Open the entity editor |
| Delete | Remove the node and its links |
| Duplicate | Create a copy of the node |
Edge Context Menu (Right-click on link)
| Option | Description |
|---|---|
| Insert Node | Add a node in the middle of this link |
| Delete | Remove the link |
Node Context Menu — Plugins Link
Right-clicking a node also includes a Plugins option that opens the Plugin Catalog sidebar, pre-filtered for compatible plugin types.
Canvas Context Menu (Right-click on empty area)
| Option | Description |
|---|---|
| Insert Event | Add a new Event node |
| Insert Prompt | Add a new Prompt node |
| Insert Action | Add a new Action node |
| Insert Workflow | Add a sub-workflow node (select existing or create new) |
| Plugins | Open the Plugin Catalog to add a blueprint node |
| Paste | Paste copied nodes |
Workflow Validation
The canvas performs server-side validation on every change (debounced at 500 ms). A ValidationStatusIcon in the toolbar shows the current state:
| Icon State | Meaning |
|---|---|
| Green | Workflow graph is valid — no errors or warnings |
| Orange | Validation warnings detected (e.g., unlinked nodes) |
| Yellow (animated) | Validation in progress |
Click the status icon to open a modal with the full list of errors and warnings.
Graph Validation Rules
| Rule | Severity | Description |
|---|---|---|
| Workflow not empty | Error | At least one node must exist |
| Single entry Event | Error | Exactly one Event node with no incoming connections must serve as the entry point |
| No multiple entries | Error | Multiple unconnected Event nodes are not allowed |
| No orphaned nodes | Error | Every node must be reachable from the entry Event |
| Entities linked | Warning | Non-logic-branch, non-workflow nodes should have an associated entity |
| Name required | Error | Workflow must have a name before saving |
Sub-Workflow Loop Detection
When a workflow contains sub-workflow nodes, the server recursively walks the referenced workflows to detect circular references. If workflow A contains a sub-workflow node pointing to B, and B contains a sub-workflow node pointing back to A, validation reports an error:
Circular sub-workflow reference detected: A → B → A
Saving Behavior
| Workflow State | Graph Errors | Result |
|---|---|---|
Active (isActive: true) | Has errors | Save blocked — fix errors first |
| Active | No errors | Save allowed |
Inactive (isActive: false) | Any | Save always allowed (draft mode) |
Validation warnings (e.g., unlinked nodes) never block saving.
Serialization
Workflows are stored as hierarchical JSON. See Workflow Data Schema for the complete specification.
Key points:
- Tree structure with
rootas entry point orphansarray for disconnected nodespresentationstores viewport and positions- Links are implicit through parent-child relationships
Node Colors
Each entity type has a distinctive color on the canvas to make workflow structure easy to read at a glance:
| Entity Type | Color |
|---|---|
| Event | Indicates the entry point and condition evaluation |
| Prompt | Indicates an AI/LLM execution step |
| Action | Indicates a custom script execution step |
| Logic Branch | Indicates a conditional branch path |
| Workflow | Teal — indicates a sub-workflow trigger |
Colors are assigned automatically based on the entity type and cannot be customized.
Tabbed Entity Editor
The entity editor in the sidebar uses a tabbed interface for editing entity properties:
- Details — Name, description, and type-specific fields
- Script — JavaScript code editor with fullscreen support and Monaco autocomplete
- Conditions — Condition tree builder (Event entities only)
- Arguments — Key-value pairs for dynamic configuration
- Prompt — AI prompt template (Prompt entities only)
Script Editor Features
The script editor includes:
- Fullscreen mode — Expand the editor to full screen for complex scripts
- Plugin sidebar — Browse available V8 script functions with descriptions and signatures. Each function shows its category, parameters, and JSDoc documentation parsed from the shared library's
definitionsfield. - Monaco autocomplete — Intelligent code completion for injected functions and plugin definitions. Type definitions are compiled from the script module registry and loaded into the Monaco editor.
- Syntax validation — Real-time JavaScript syntax checking
Plugin Catalog Sidebar
The left sidebar includes a Plugin icon that opens the Plugin Catalog. This catalog displays all available blueprint plugins organized by category (Social, Email, Storage, Data, Communications, Shopify).
Adding a plugin:
- Click the plugin icon in the sidebar (or right-click → Plugins)
- Browse or search for a plugin
- Click a plugin card to start the configuration wizard
- Complete all wizard steps and submit
- The plugin is added to the canvas as an inline blueprint node
Each plugin card displays:
- Name and description
- Category badge for quick identification
- Icon matching the plugin's function
See Blueprints & Plugins for details on the wizard system, field types, and script template generation.
Creating Entities Directly on Canvas
You can create new workflow entities without leaving the canvas:
- From toolbar: Click the Create Node button to open the entity creation dialog
- From connector: Drag a connector from any output port to an empty area — a dialog opens to create and immediately connect the new entity
- From context menu: Right-click on the canvas and select an entity type
The entity is created in the database and added to the canvas in one step.
Keyboard Shortcuts
| Shortcut | Action |
|---|---|
Delete | Delete selected nodes |
Ctrl+S / Cmd+S | Save workflow |
Ctrl+Z / Cmd+Z | Undo |
Ctrl+Y / Cmd+Y | Redo |
Ctrl+A / Cmd+A | Select all |
Escape | Deselect all |
Related Topics
- Blueprints & Plugins — Blueprint system, plugin catalog, and inline nodes
- Workflow Data Schema — JSON structure specification
- HTTP Plugins — httpRequest and httpStreamConnect reference
- Workflow Entities — Entity types and configuration