Environments
The Environments screen allows you to create and manage isolated deployment environments within your organization. Environments provide logical separation for workflows, variables, and processed messages.
Overview
Environments are the second level of the organizational hierarchy:
Organization
  └── Environment (e.g., Development, Staging, Production)
        ├── Variables (API keys, configuration)
        ├── Workflows (automation logic)
        └── Processed Messages (execution results)
Each environment has its own set of variables and workflows, enabling you to:
- Test workflows in development before deploying to production
- Maintain separate API keys and credentials per environment
- Isolate processed message queues for different stages
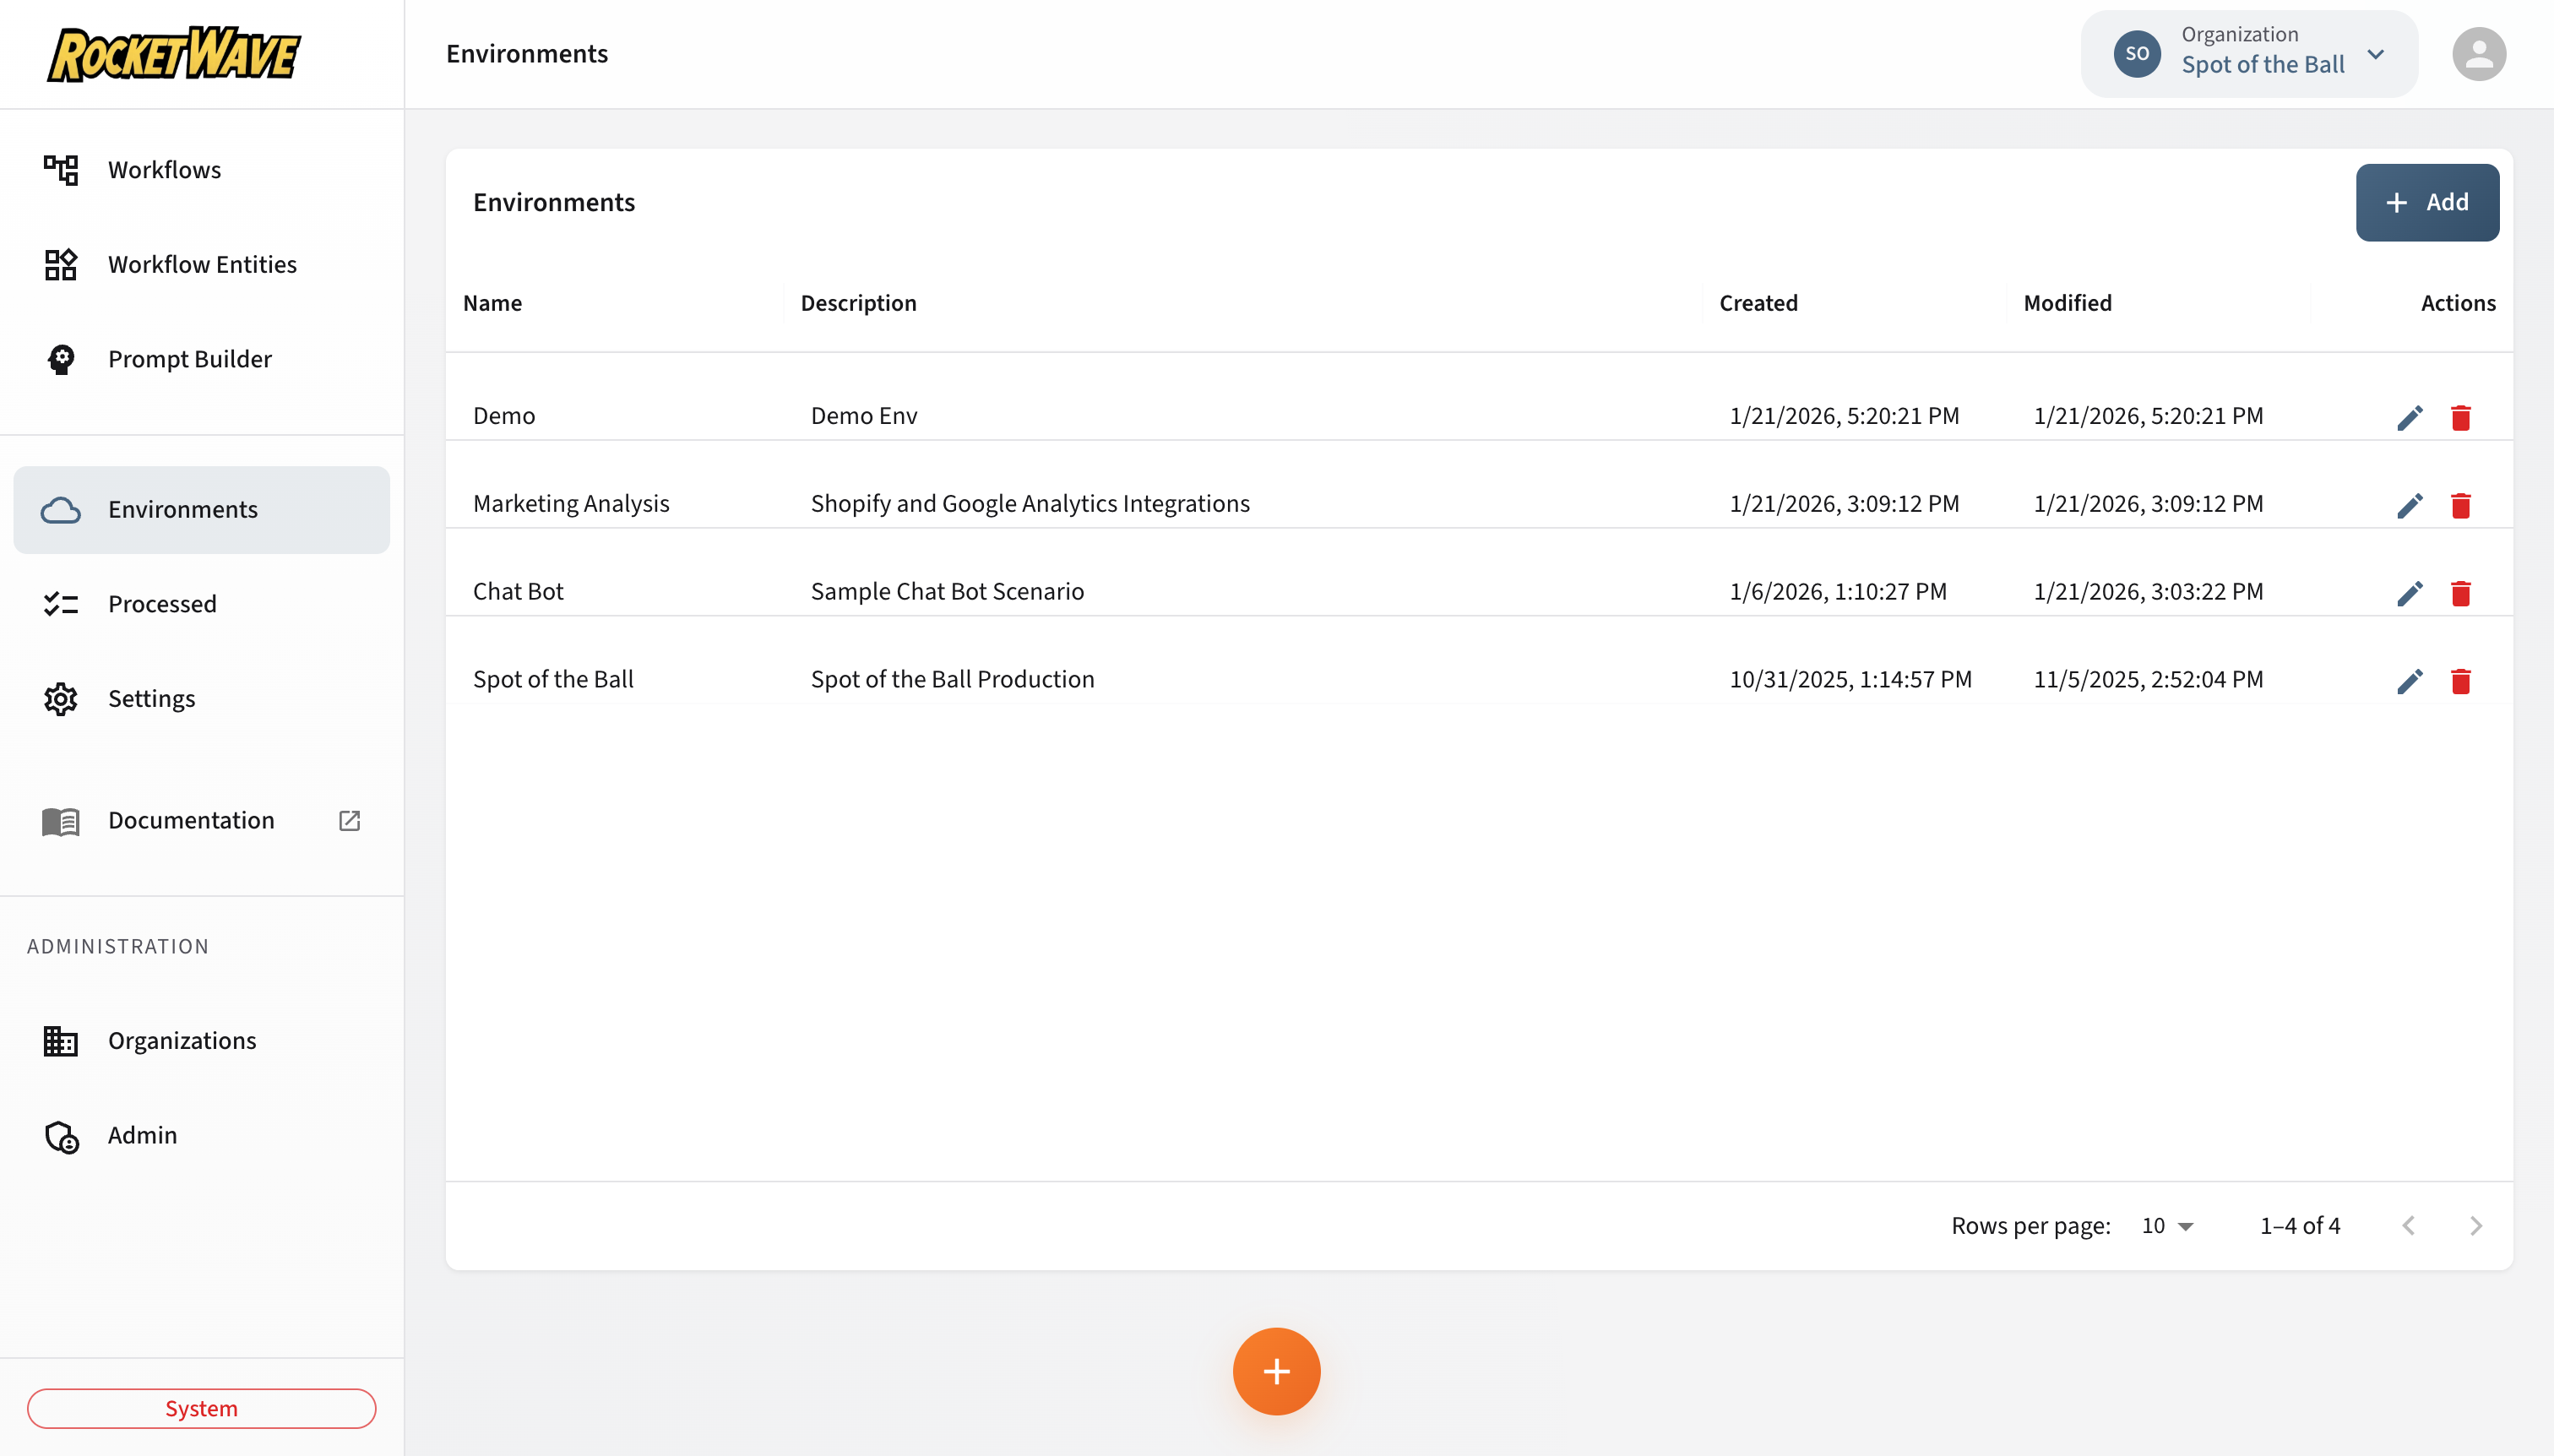
Screen Layout
The Environments page displays a paginated data table with the following columns:
| Column | Description |
|---|---|
| Name | The environment identifier (e.g., "Production", "Staging") |
| Description | Optional description of the environment's purpose |
| Created | Timestamp when the environment was created |
| Modified | Timestamp of the last update |
Empty State
When your organization has no environments, the page displays a friendly onboarding prompt:
"Ready for Liftoff!"
Click the Ready for Liftoff button to open the environment creation form. This provides a welcoming first-time experience for new users.
The same "Ready for Liftoff" button appears on the Dashboard when no environments exist, providing multiple entry points for creating your first environment.
Operations
Creating an Environment
- Click the Add button in the toolbar (or the "Ready for Liftoff" button if no environments exist)
- Fill in the required fields:
- Name (required): A unique identifier for this environment
- Description (optional): Describe the environment's purpose
- Click Save
Example:
Name: Production
Description: Live production environment for customer-facing workflows
Editing an Environment
- Click the Edit icon (pencil) in the row actions
- Modify the name or description
- Click Save
Renaming an environment does not affect existing workflows or variables associated with it. The internal ID remains unchanged.
Copying IDs
When editing an environment, you can copy the Organization ID and Environment ID for use in API integrations or debugging:
- Open the Edit dialog for any environment
- Find the ID fields at the bottom of the form
- Click the Copy icon next to each ID
These UUIDs are required for:
- API calls to the receiver endpoint
- Debugging processed messages
- Configuring external integrations
Deleting an Environment
- Click the Delete icon (trash) in the row actions
- Confirm the deletion in the dialog
Deleting an environment will permanently remove:
- All variables associated with the environment
- All workflows configured for the environment
- All processed messages in the environment's queues
This action cannot be undone.
Best Practices
Recommended Environment Structure
Most organizations use a three-environment structure:
| Environment | Purpose |
|---|---|
| Development | Testing new workflows, debugging |
| Staging | Pre-production validation, integration testing |
| Production | Live customer-facing workflows |
Naming Conventions
- Use clear, descriptive names (e.g., "Production" not "Prod" or "P1")
- Include region or purpose if you have multiple instances (e.g., "Production-US", "Production-EU")
- Avoid special characters in names
Variable Management
Each environment should have its own set of variables:
Development:
  - API_KEY: dev_key_xxx
  - DEBUG_MODE: true

Production:
  - API_KEY: prod_key_xxx
  - DEBUG_MODE: false
API Reference
Environments are managed through the /api/environments endpoint. See the API Documentation for details.
Quick Reference
| Operation | Method | Endpoint |
|---|---|---|
| List | GET | /api/environments?organizationId={id} |
| Create | POST | /api/environments |
| Get by ID | GET | /api/environments/{id} |
| Update | PUT | /api/environments/{id} |
| Delete | DELETE | /api/environments/{id} |
Related Topics
- Settings (Variables & Models) — Configure environment-specific variables
- Workflows — Build automation workflows for each environment
- Processed Messages — View execution results by environment